Create Courses
Template Selection and Fill in Course Details
-
When the user accesses the course creation section, they will either see a list of available templates to choose from — depending on the administrator's configuration — or be taken directly into the course creation workflow if a template has already been preselected.
-
Details for each available course template can be seen using the arrow from the bottom right corner of each template.
-
A maximum of 10 course templates are displayed at first, but the user has the option to display more using the "More" button.
-
A search option is available to search for a particular template.
-
-
Based on the course template selected in Step 1, the details of the course will be populated with the default values set from template. The user has the possibility to modify the editable fields with the correct data suitable for the course.
-
When saving the changes at this level, the course will be created.
Additional Information
The display of the additional information step depends on whether it has been set up by the administrator. If configured, this step can show further fields where additional information can be entered. For example, one possible scenario is that step 1 contains only mandatory fields, while step 2, labeled as additional information, includes fields that can be optionally completed as supplementary details.
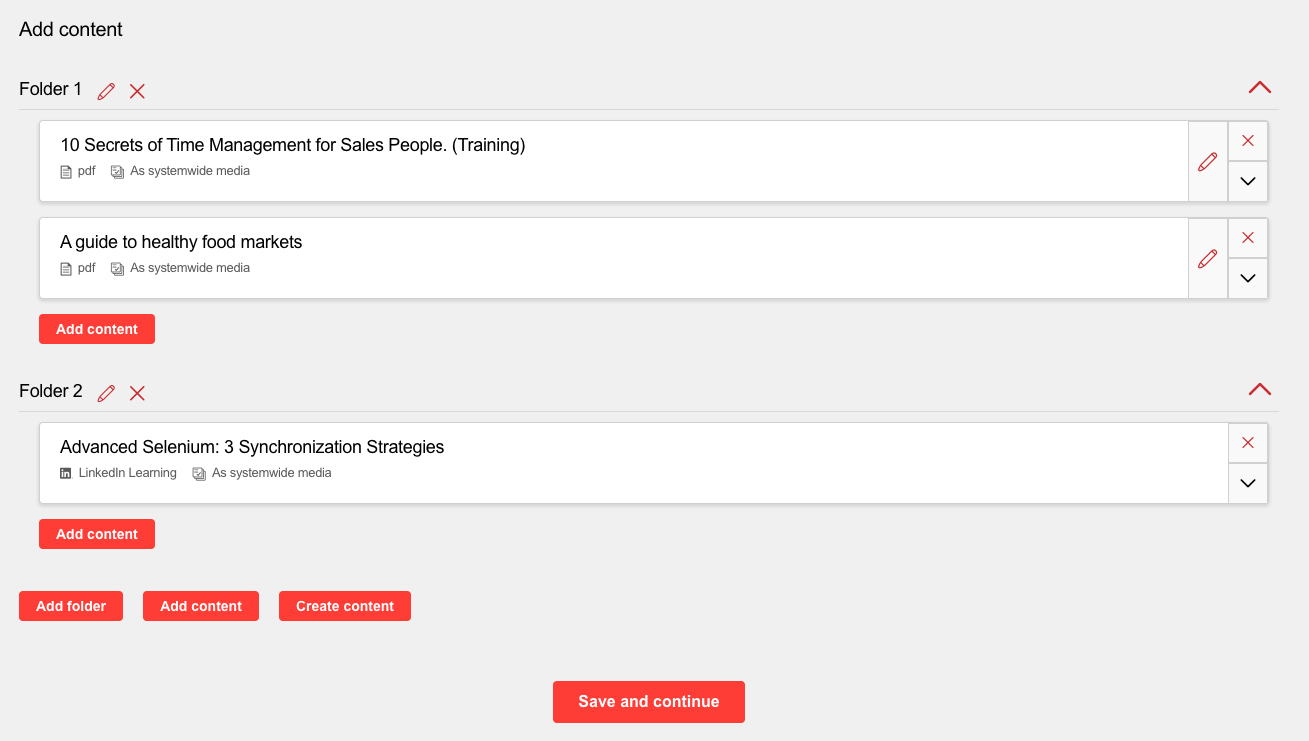
Content
The display of the additional information step depends on whether it has been set up by the administrator. In addition, the display of options may vary depending on the administrator's configuration. If all options have been configured, the user can create folders, add or remove content and create new content. It is possible in regard to folders to add additional folders, or remove existing ones, and add content to existing or new folders by selecting from a list of items, based on ACLs. For each element, details can be viewed.
Multiple elements can be added at once to the course. It is possible to remove elements one by one. The media items can be rearranged by drag and drop. Besides media, test and feedbacks can also be added.
Furthermore the user can create new content via the easy media upload function.
Once this step is complete, the user can navigate to the next step by saving the changes.
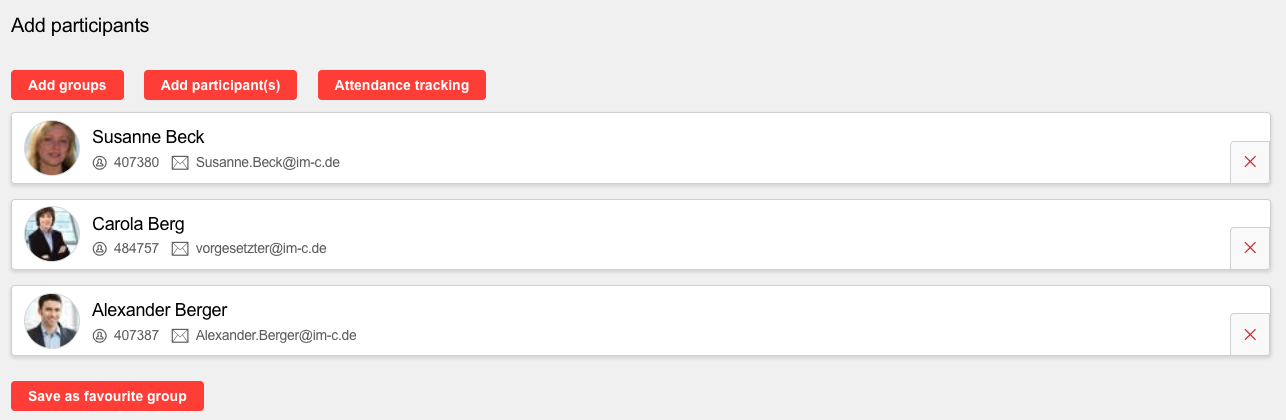
Participants
The display of the additional information step depends on whether it has been set up by the administrator. In addition, the display of options may vary depending on the administrator's configuration.
Basic functions are the addition of groups and individual persons based on access rights. Once people have been added, a list displaying all available participants is shown. If persons have been added by mistake, they can also be removed again (before saving). After saving the changes, participants added by mistake can be cancelled by using the cancellation form.
If the full range of functions has been activated, the following functions are available to the user: creating a favorites group (combine users that were just added to the course into a favorites group), making changes to the booking status and the attendance tracking function.
The booking status function allows changing the enrollment status of the participants, it is made available for participants who already have a status on the course (in edit mode, after saving newly added participants).
Tutors
The display of the additional information step depends on whether it has been set up by the administrator. It is also possible to add tutors to courses created via the Easy course creation. It is however not possible to edit any settings related to the tutors such as allow grading or on the job training or defining the role of the tutor.
Overview
The last step in the workflow is an overview section where the user can review all the changes he made. The page is structured in the following sections: Course details, Content, and participants. If there are corrections required, he can navigate to the corresponding step in the workflow by selecting the Edit button (pencil) associated with each section.
Manage Courses
If this menu has been configured, courses created via the easy course creation can be edited here (based on access rights). It is possible that different workflow steps have been configured for this menu than for course creation, the range of functions may vary accordingly. In addition, it is possible that several tabs with regard to the planning status have been configured to provide a better overview, for example a division into released and cancelled courses.