Target Group Creation
This deep dive guide gives some insights how to create specific target groups in the LMS that can be used for automatic assignments.
Creation
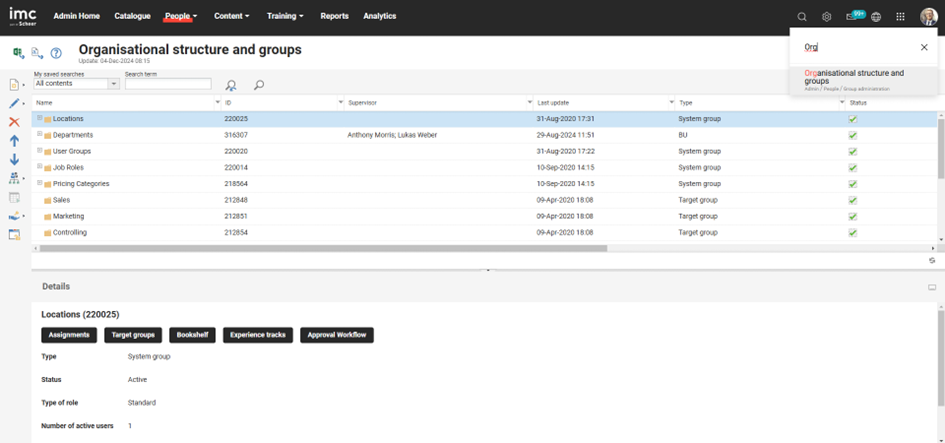
To create a target group, first call up the menu item Organisational structure and groups, e.g. via the Magnifier icon.
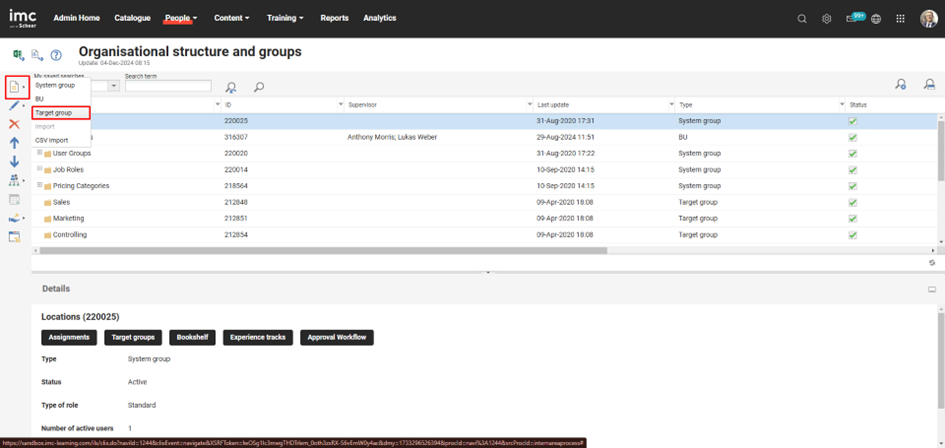
Click on the Create button and select the desired group type Target group.
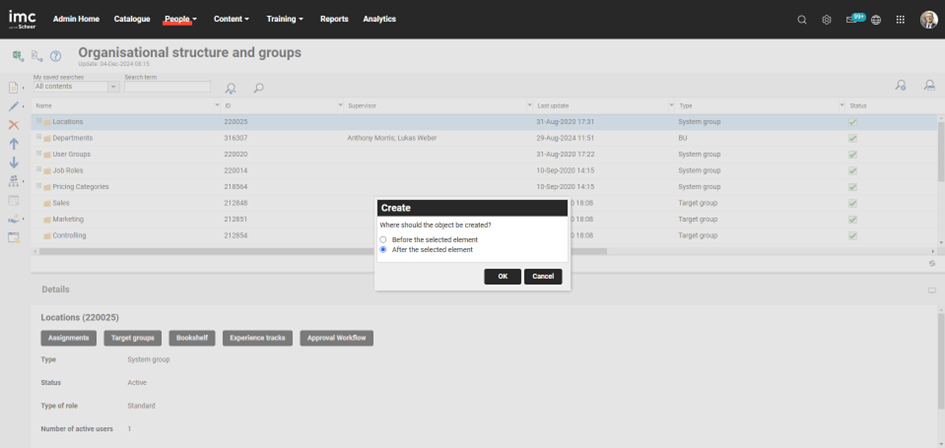
Decide where the group should be inserted. However, this can also be changed later after the group has been created via drag & drop.
Description
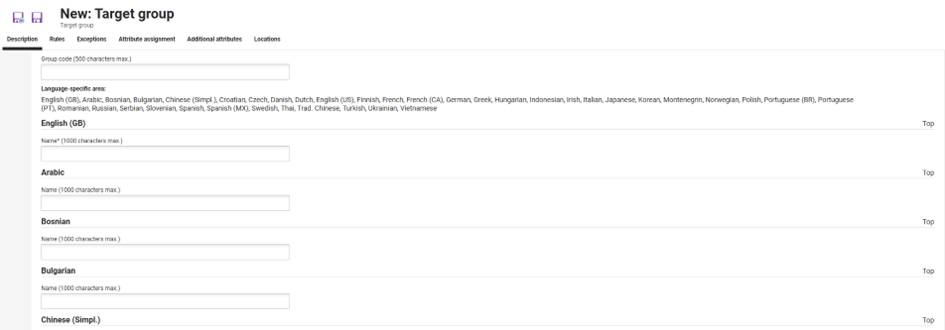
A window opens in which various tabs are displayed. Select the Description tab. Here you can first determine via the drop-down menu Status whether the target group should be Active or Inactive. You can also fill in several other fields in this tab, e.g. Provider, Clients etc. You can use the Information button i, which is above the individual fields, to call up a description of the effects of the respective field.
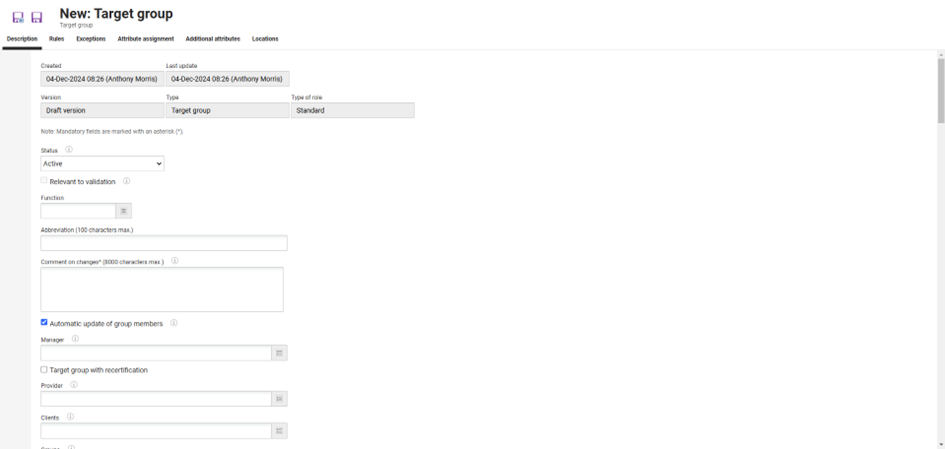
Finally, you have to enter the desired name of the target group in this tab. This should be clear and concise so that the group can be found easily.
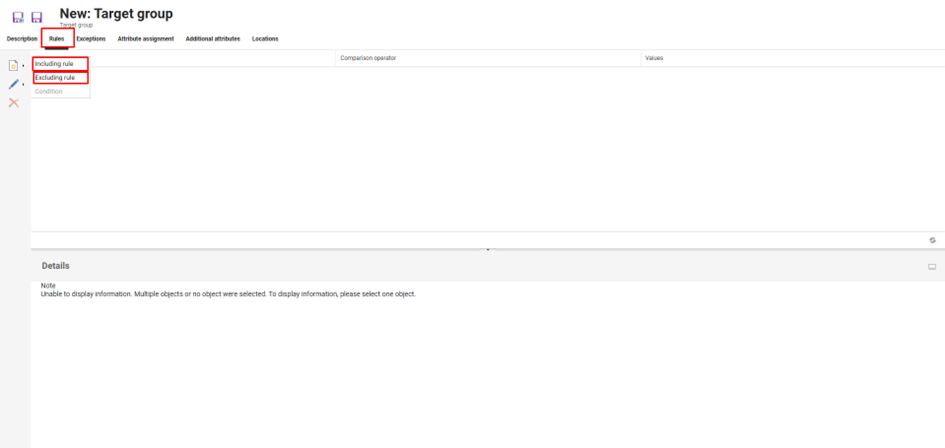
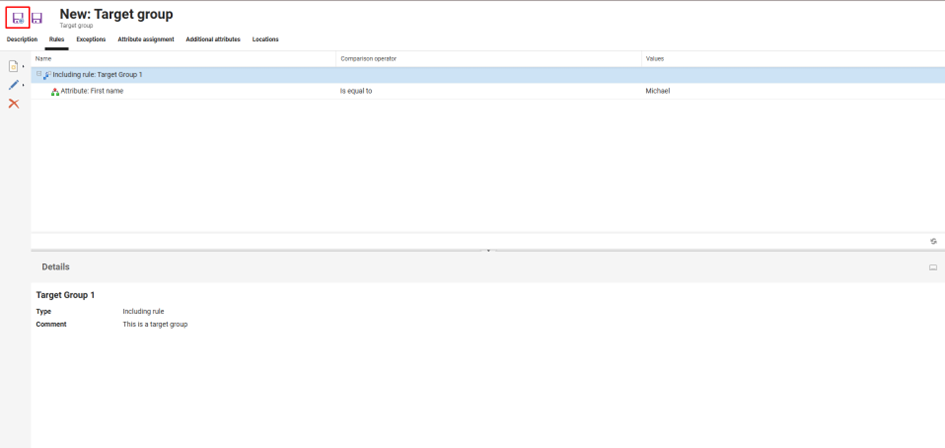
Rules
Now select the Rules tab. Here you can define the rules that decide which users are to be summarised in this group. There are two different options for this:
the Including rule: Users are added to the group based on certain attributes or meta tags
the Excluding rule: Users are excluded from the group based on certain attributes or meta tags
Please note that users that are covered by including rule and excluding rule are always excluded and not part of the target group. Example: A target group built from include rule “all people living in Germany” in combination with exclude rule “all people under 60 years” will not contain people that live in Germany with age under 60.
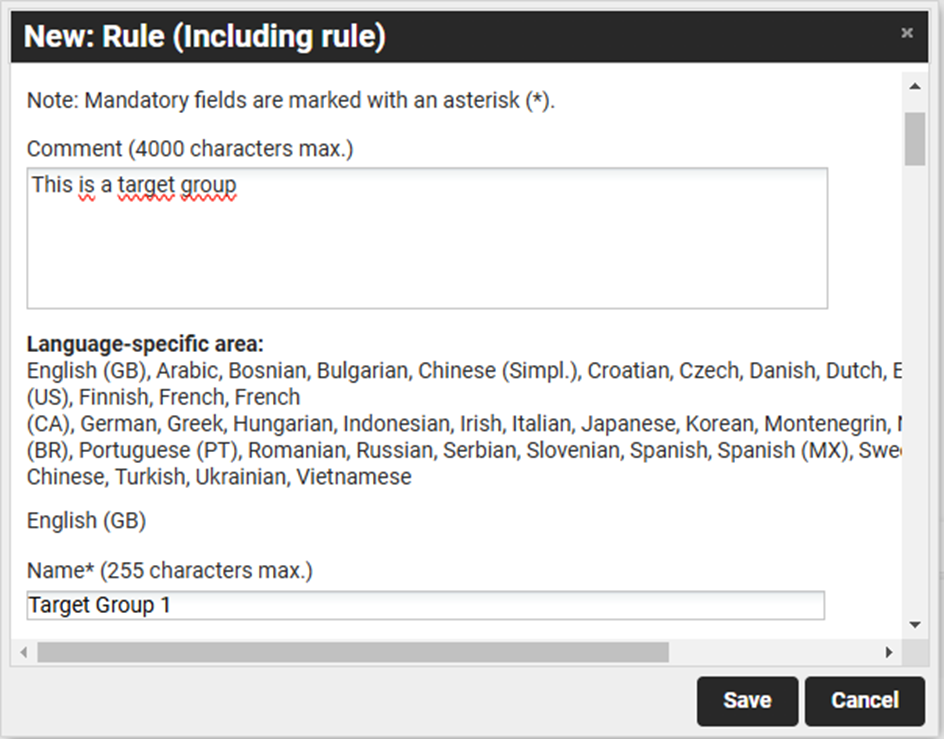
If you have decided in favour of one of the two rules, you must name it. In addition, it is also possible to add a comment to the rule.
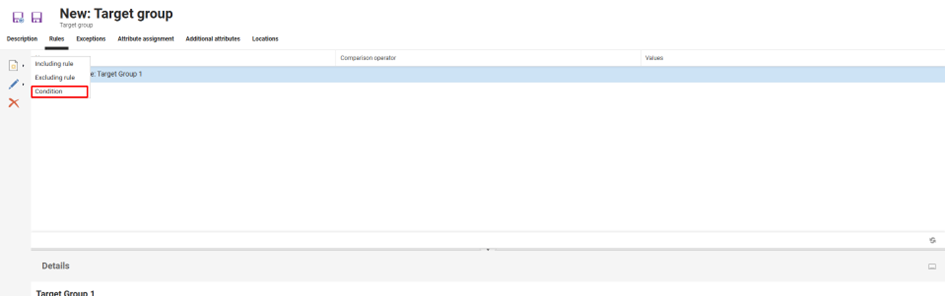
As soon as you have saved the rule via the corresponding button, the new Condition option is available to you when creating the target group. Select these.
A new Selection window opens, which offers you various options via different tabs to filter the users who are to be assigned to this group. For example, Courses, Course templates, Skills etc. can be selected here.
In the following example, Attributes were selected as filter criterion. These attributes are a large number of different user attributes that can be taken into account during filtering. You can decide whether one or more of these attributes should be used for filtering.
In this example, the user attribute FIRSTNAME was selected as the filter criterion.

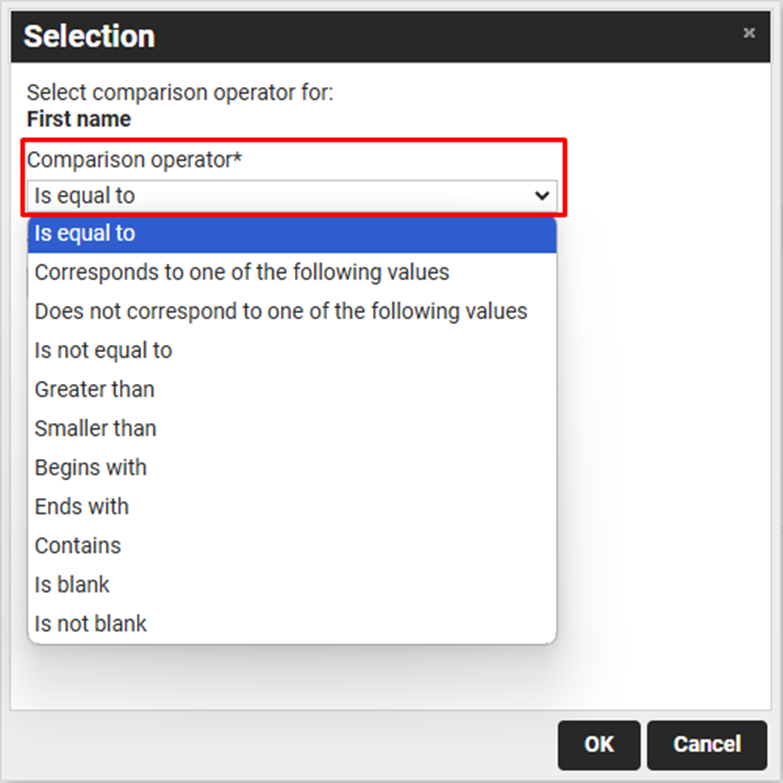
After this selection, a new window opens in which you have to choose a Comparison operator. In this example, the comparison operator Is equal to was chosen.
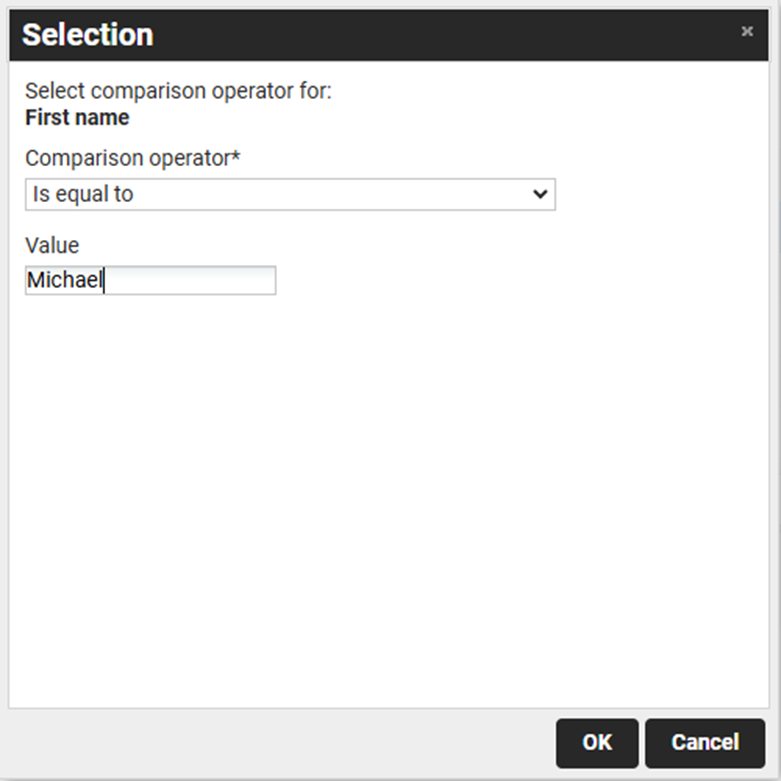
Enter the Value that should be queried. In this example, the value Michael has been selected.
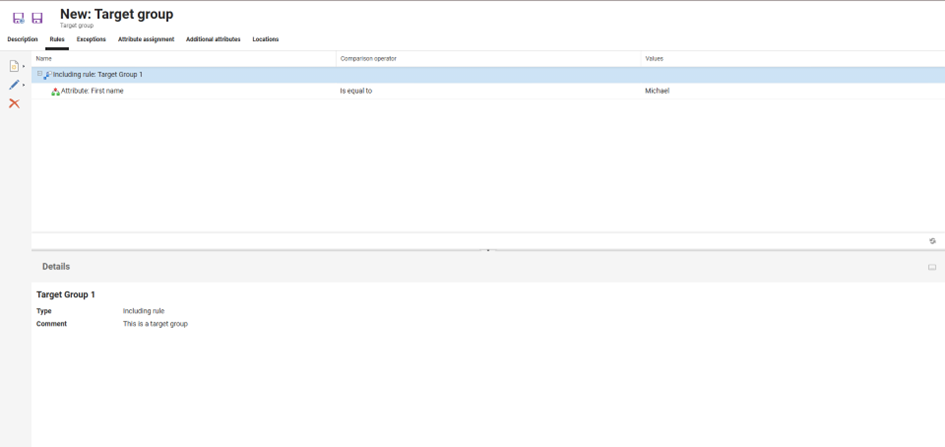
As soon as you click OK, you will see the defined rule again, including the condition.
In the current example, a rule has been defined that causes all users of the system whose first name = Michael to be added to the group.
It is important to note that rules (including and excluding rules) might contain several conditions. Example: A target group consists of one including rule with two conditions: “people from Germany” and “people older 60 years”. Conditions within a rule are always and connected. This means that users fulfilling the rule must fulfil all conditions. In the example above this means that only people from Germany that are older than 60 years are covered.
Exceptions
You also have the option of defining exceptions in the Exceptions tab. In this way, you can exclude individual users of the system who fulfil or do not fulfil the previously defined conditions from the group or include them in the group.
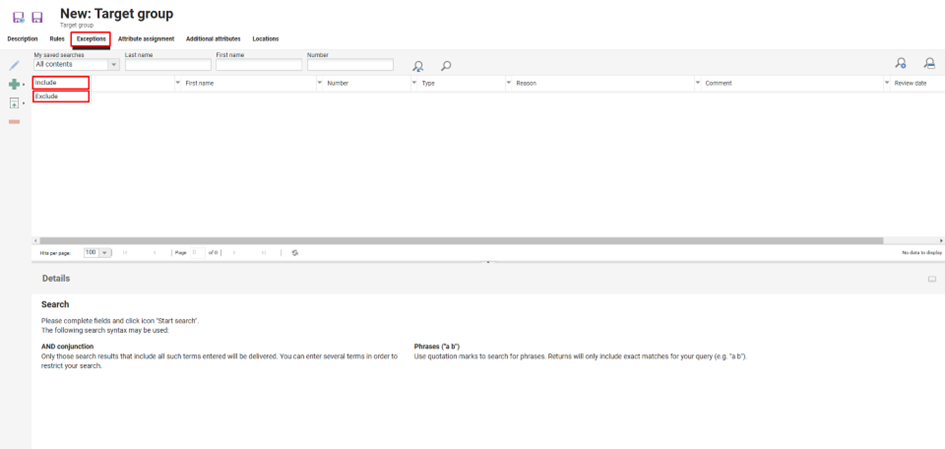
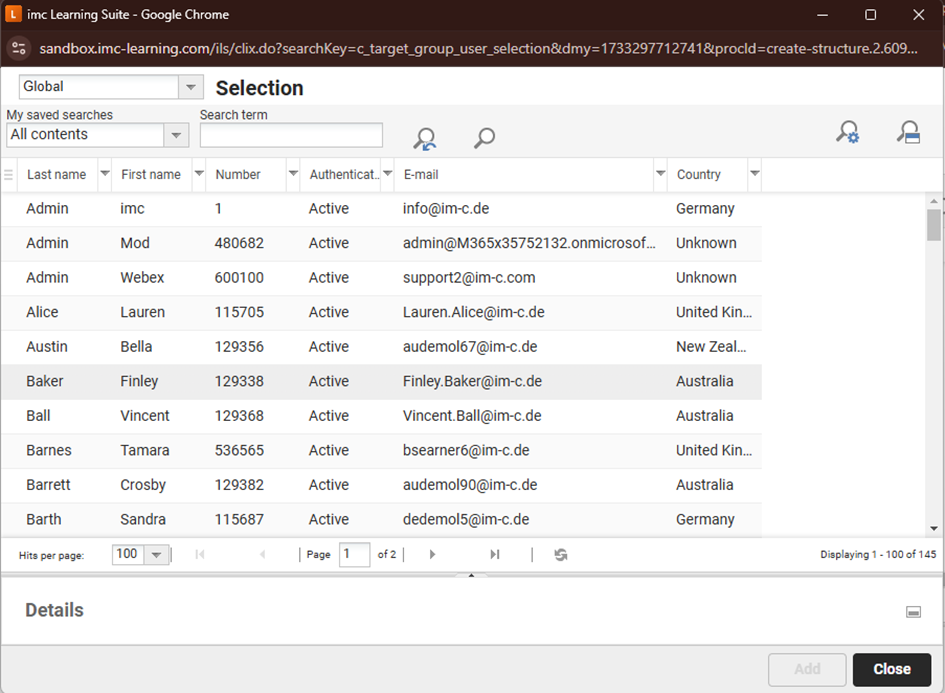
If you select Include , for example, a new Selection window opens. In this window, you can select the user you want to include or add to the group (or exclude from the group if you have previously selected Exclude).
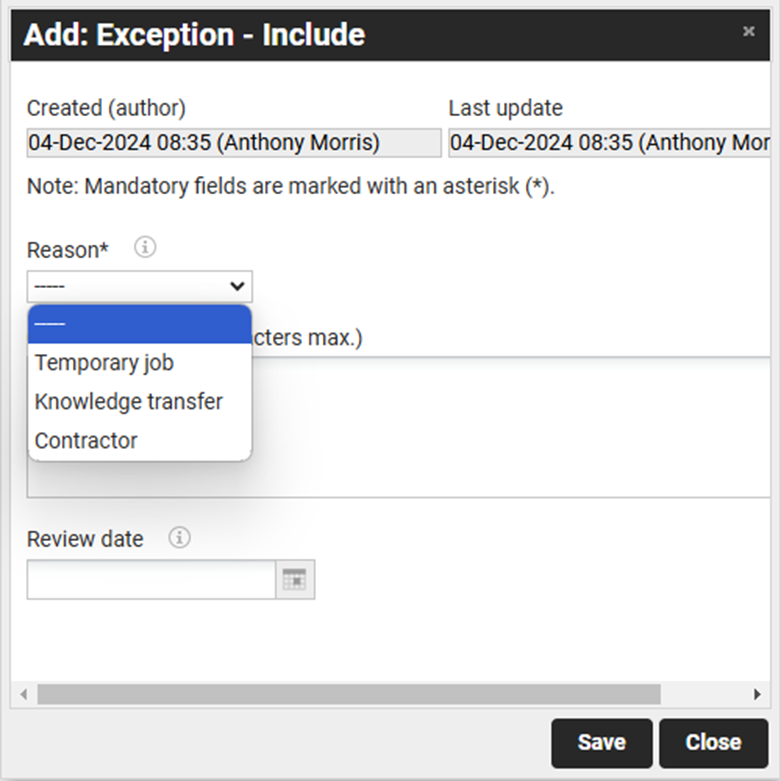
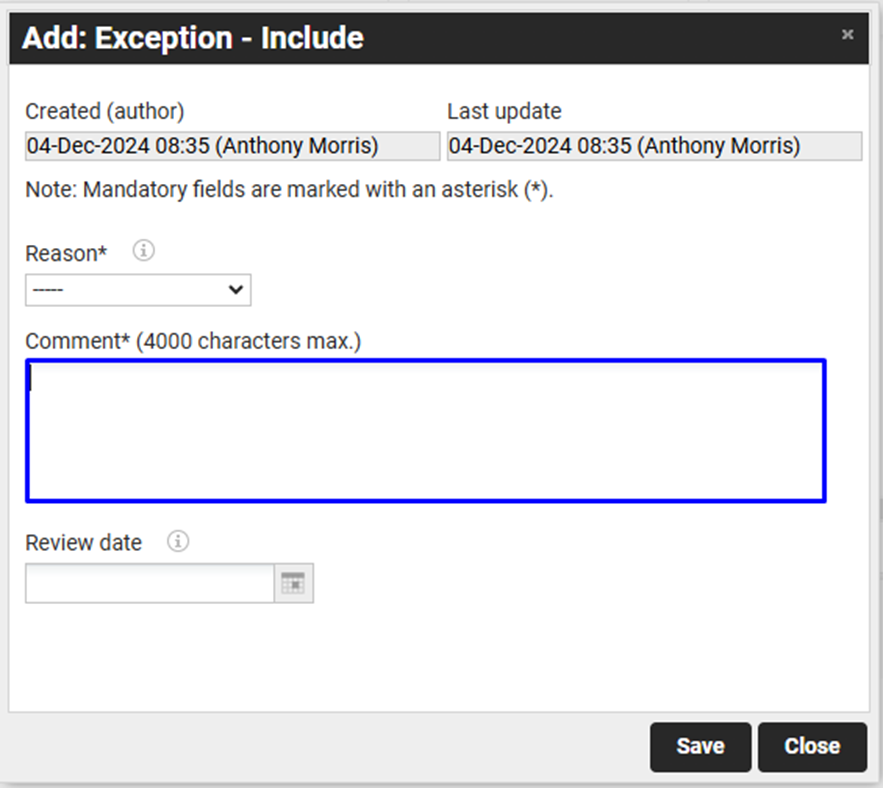
A new window will open in which you need to select a Reason for the exception and add a Comment. In addition, there is also the option to set a Review Date. This allows you to specify the date on which this exception should be checked again.
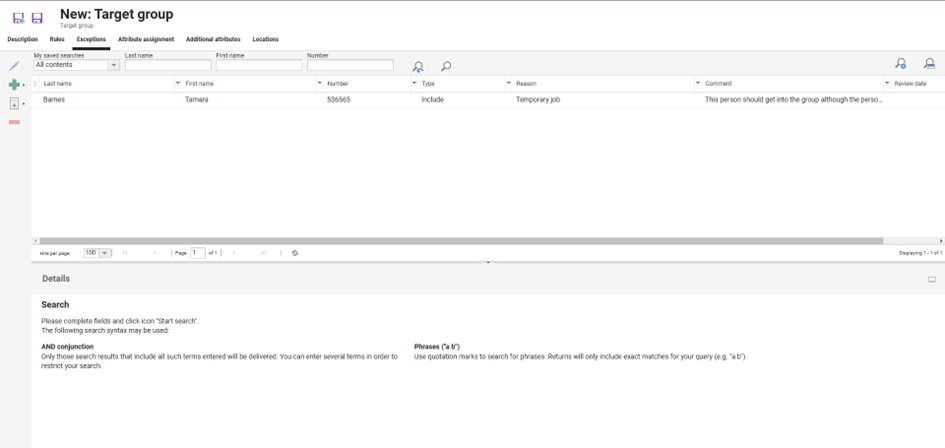
The person affected by the exception is now displayed in the Exceptions tab.
Save the defined target group via the corresponding button.
Update
Finally, you must generate the target group via the highlighted button:
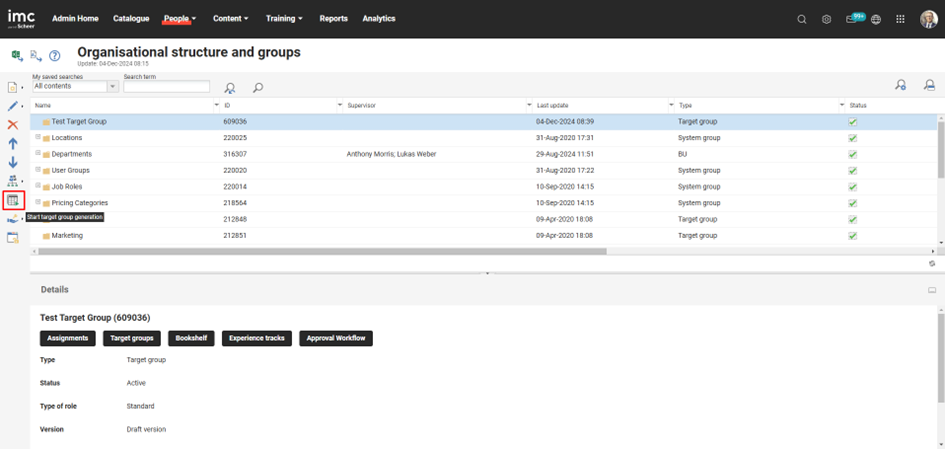
This causes the system to add all users with the first name Michael to this group.
Target groups must be final in order to use them (i.e., in course assignments).
Target groups are updated daily via a cron job stored in the system.